


 24/7 Emergency Service
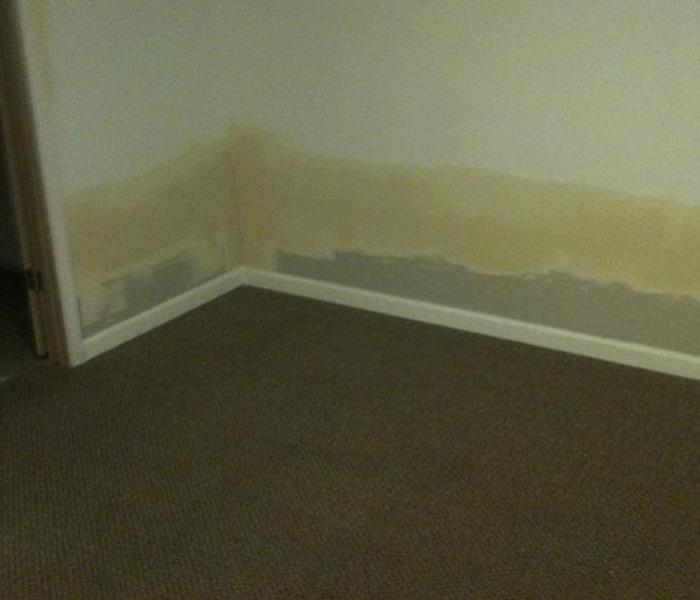
Battling drywall water damage in your Nashville home
3/20/2015 (Permalink)
 Drywall water damage / Source - http://www.angieslist.com/companylist/us/il/des-plaines/anvil-interiors-inc-reviews-7525548.htm
Between the walls and ceiling in our homes, we are surrounded by drywall. With as much as there is, damaged drywall can become a hefty fine to pay. Detecting drywall water damage early on is the key factor to saving money and to keep the damage from spreading. Depending on the extent of damage, some incidents of drywall damage can be cleaned and repaired without any replacements.
According to realestate.com, some signs of water damage include odors, stains and discolorations, peeling wall surfaces, warped or buckled walls and even mold damage. Once the damage is located, it’s time to get to work. Don’t let any type of water damage sit without repair; it is more likely to worsen over time. Every situation has a different outcome depending on the cause of the water damage.
With drywall being a heavier material to begin with, the longer is saturates in the water, the heavier it becomes, causing more damage to the affected area. If the drywall has been exposed for less than 2 hours and has not been sitting in contaminated water, there is a good chance in saving the drywall by repairing it.
Realestate.com gives instructions on the proper way to repair and replace drywall -
1. Determine how far back the drywall needs to be removed. Cut out the damaged area; whether it is a small square or the entire bottom half of a room that has been damaged by flooding. End the cut in the middle of a stud on both ends of the opening to provide an anchor for the replacement drywall.
2. Make sure to remove any wet/damaged insulation and completely dry the interior and exterior of the wall to ensure that there will not be further damage done while it sits.
3. Once the inside of the wall is completely dry, replace the old insulation with brand new material.
4. After the insulation is replaced into the dry wall, we will make sure to cut a new piece of drywall to fit into the opening of where the damage was done.
5. As the final touch, use drywall tape to tape off the seams and cover the seams and screws with mud or compound to make a smooth, level surface across the new drywall.
Source - http://www.realestate.com/advice/repairing-water-damage-in-your-home-10472/